








HomeAbout MeCookie PicsCupcakesPricesContact
Showing posts with label Tutorial. Show all posts

Sunday, September 9, 2012

Eye Candy

I am ready to get back to some regular posting, and things are slowing down a little bit around here so I am excited to share some fun stuff this week!

But first I'm going to share some fun cookie pictures from the past week.

I did these sweet monograms for one of my closest friends who is having a baby girl in November. I loved these colors and I never get tired of a cute monogram.


These sweet cookies were for a first wedding anniversary. I made them to match the wedding theme and invitation.


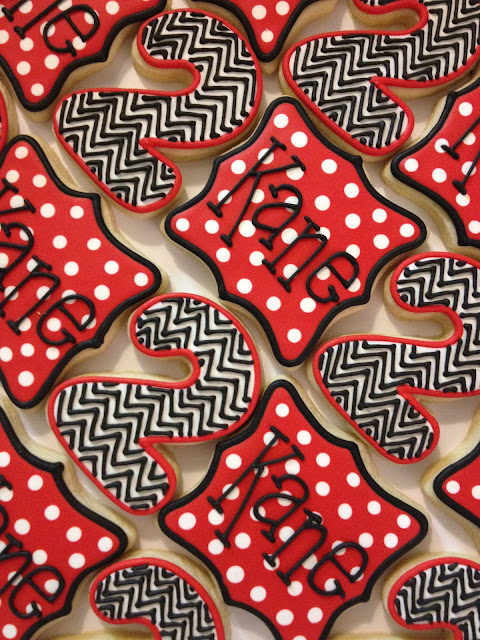
Chevron and Polka dot twos for a sweet friend of Taylor's.


More chevron and Polka dots. I heard from a lot of Razorback fans after I posted this picture on Instagram :). (That was before Saturday's game).

I absolutely loved these cookies and the theme of this party. I always love the red and turqoise together, and I always jump at the chance to do Paisley.


Here is a close up of the paisley pattern. I did a tutorial on this here.


Another sweet monogram for Jillian. I couldn't have picked three better colors.


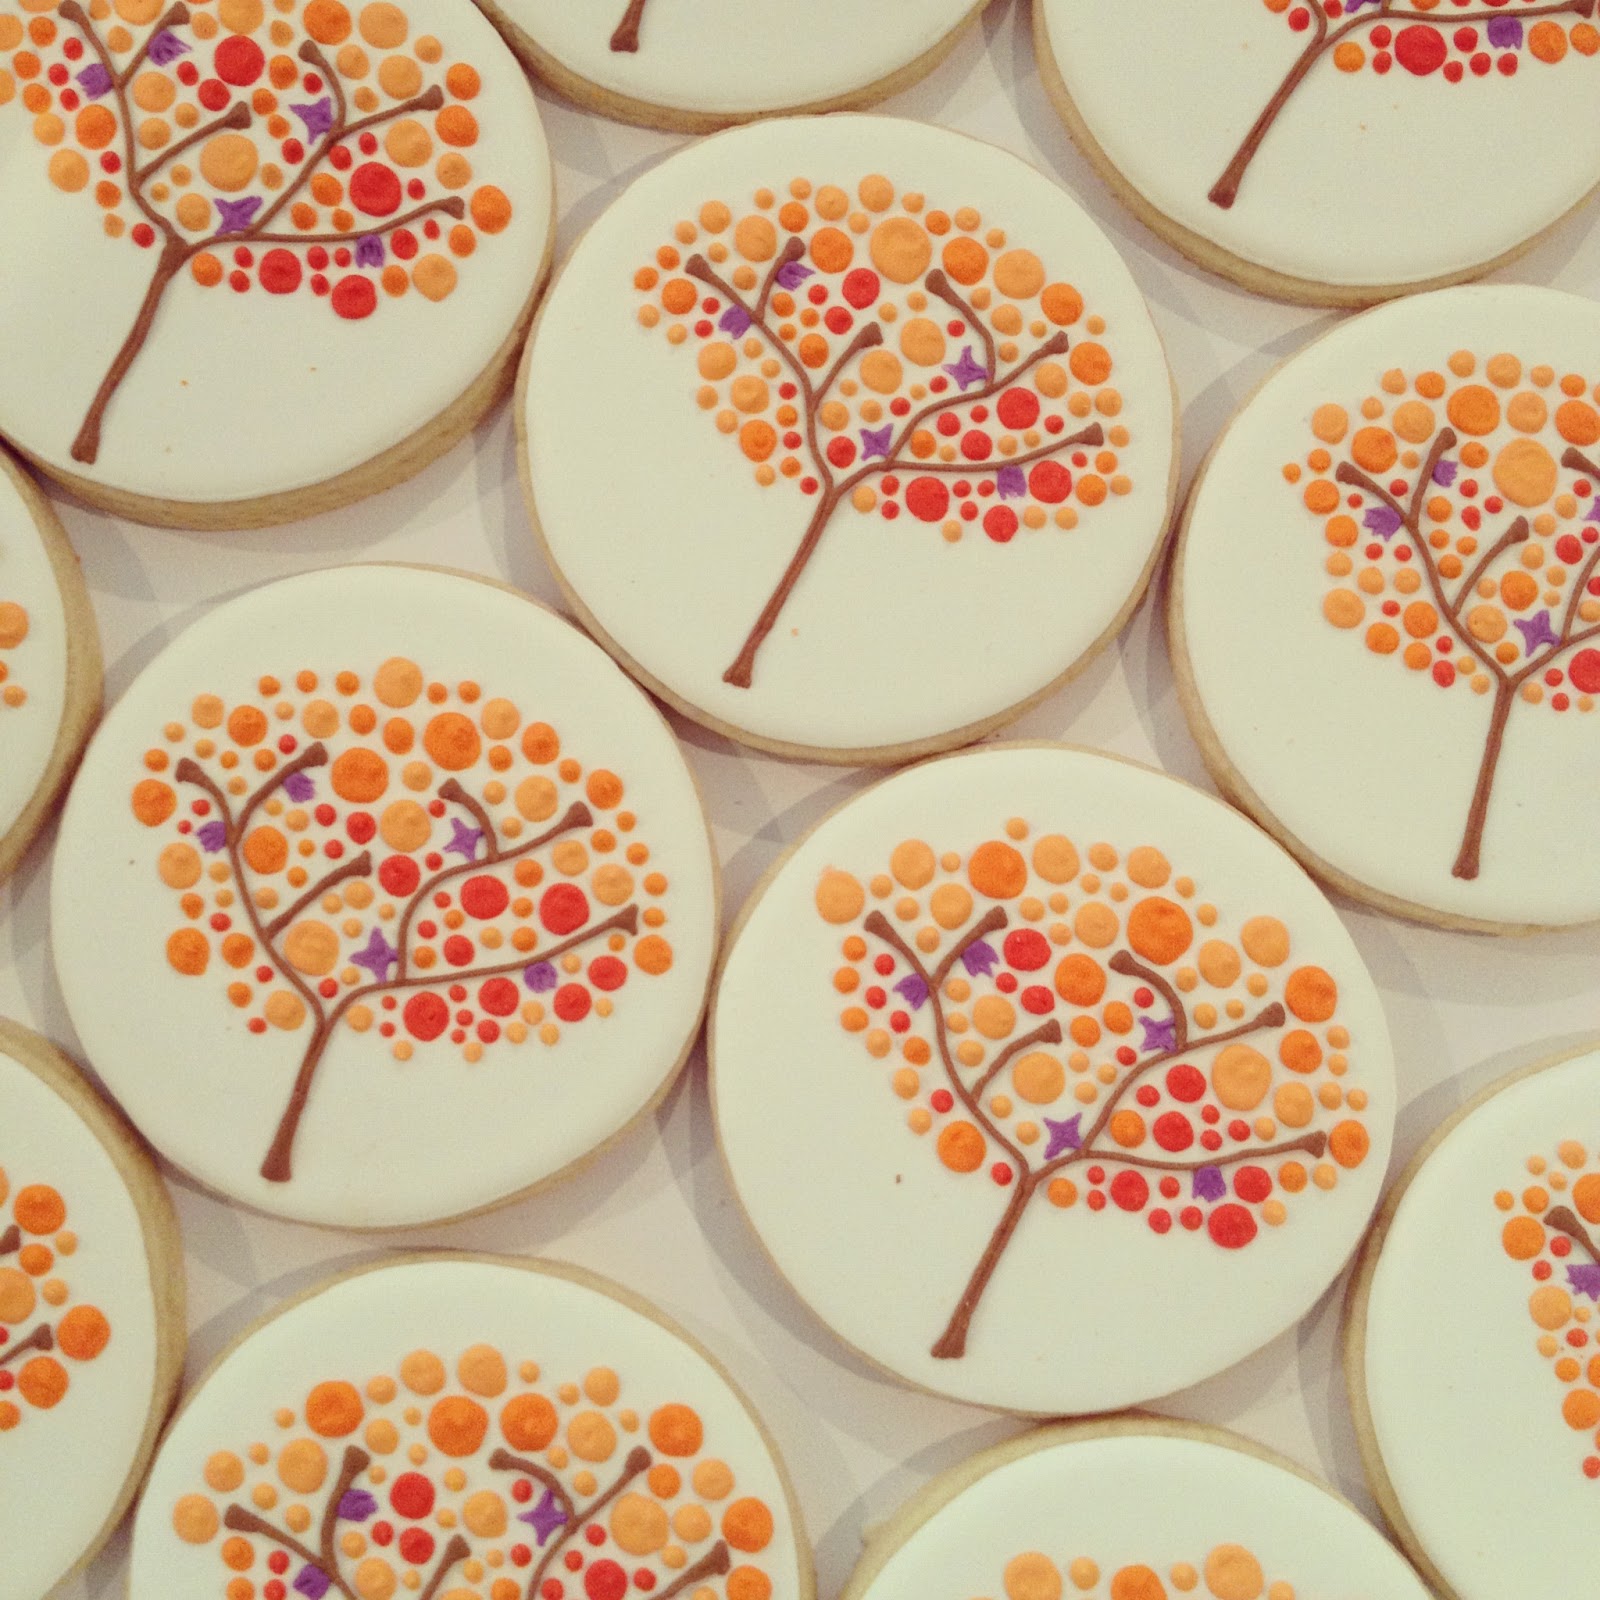
And last, but definitely not least, "water painted" trees. I did these to match a print that was being used in the baby shower. I'm not going to lie, these took FOREVER. I was seeing dots for a few days after I finished these :). 

I have to share this last picture because its just too funny. One night last week I told Parker to go put a shirt on for dinner, and he came back like this:


Happy Monday!!!

Sunday, July 15, 2012

Preparing Royal Icing

My goal for this post is for you to learn something new you didn't know about royal icing, and to show you that with a little practice (and patience), you can make some cute cookies!

First of all you need to have 4 ingredients on hand; powdered sugar, meringue powder, any flavor oil free extract, and water. Pretty simple! For those of you that are unfamiliar with meringue powder, you can find it at Hobby Lobby, Joann's, or even Wal Mart. Look for it in the baking section. (pic below)

I always make my icing in my standard size Kitchen Aid mixer. I don't recommend using a mixer with a bigger bowl because I have found it doesn't seem to mix as well.

Now to make your icing!!!


Empty one bag of powdered sugar into your mixing bowl. Put 6 TBS of meringue powder in the bowl with your powder sugar and using your whisk attachment blend the sugar and powder. While you are blending your sugar and powder, grab a cup and mix 3/4 cup water with 1 TBS of any flavor extract. Slowly add the water mixture to your mixing bowl (with your mixer running) until you don't see any dry powder. When the powder is absorbed, turn your mixer speed to med-high, and set your timer for 4 minutes. After the four minutes is up, run a spatula around the sides of the bowl to incorporate any unmixed powder. Check the texture of your icing, it should form stiff peaks when your spatula is pulled away. You may need to mix your icing longer, I set my timer for 1 minute increments and check it until it is ready.

As soon as your icing is ready, transfer it to an airtight bowl. Make sure it is airtight. Air makes royal icing harden quickly.


IMPORTANT: Make sure your mixing bowl, and everything else you use to make the icing is clean and oil free. Oil and royal icing are not friends.

Royal Icing is good for a month if it is stored air tight in the refrigerator. I personally don't like to keep it longer than a week. Everyone has different preferences and you will find your own the more you make it and see what works for you!


Now you are ready to make your piping and filling icings. This recipe should ice around 4 dozen cookies. I double this recipe and it usually lasts me around 8 dozen cookies.


I'm excited to hear your feedback! If you use this and learn something new, let me know! If there is something I didn't cover that you have questions about feel free to ask. I will cover mixing and preparing piping and fillier icing next. Too much to cover in one post!


Happy Icing Making! :)


The Doughmestic Housewife


Designed by Munchkin Land Designs • Copyright 2012 • All Rights Reserved