


I think one of my very favorite patterns to do on a cookie is the Paisley pattern. Typically when I use this pattern it is in a bandana print, but there are a million other ways to use Paisleys.

I loved these sweet Paisley cookies I did for a birthday party this past March. The possibilities are endless!
Now for the Tutorial:
1. Bake your cookies and make your icing. Make a piping consistency icing, and a filler consistency icing in whatever color you choose as your base. You also need black and white piping consistency icing.
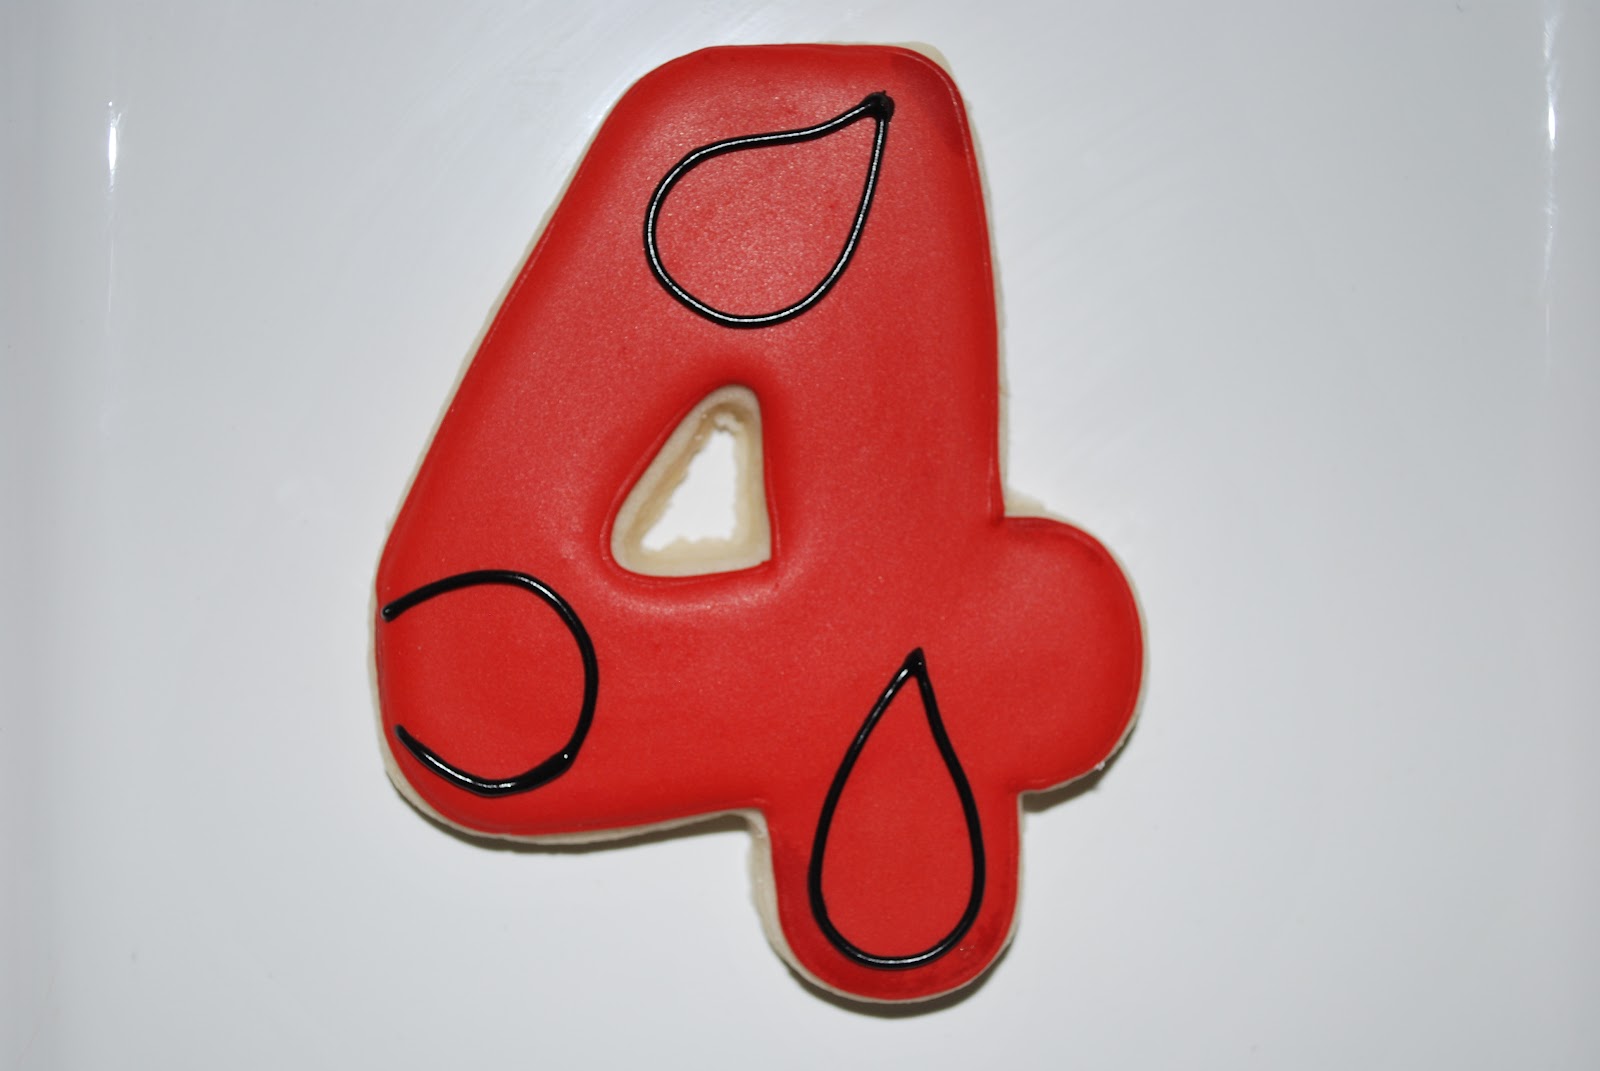
2. Begin with a plain cookie, any size or shape. I am using a #4 shaped cookie.

2. Outline your cookie with the piping icing you chose as your base color.

3. Now fill your cookie with the filler icing. Let the cookie dry for at least 3 or 4 hours, but preferably overnight. A cookie is much easier to work with after its dried overnight.

(This pic was right after the cookie was filled. It won't be so shiny after its all dry)
Time for the fun part!!!
4.Using your black piping icing, place a few "raindrop" shaped paisleys sporadically on the cookies.
The shape and size don't really matter.
5. Next Using your white piping icing, line the inner lines of the black paisleys.

6. Using your black piping icing, line the white paisley with black dots.
7.Using your white piping icing, make a ruffle pattern around your original black paisley. It is best to make sure your black icing has dried enough to not bleed into your white icing.

8. Time to fill the open spots. To stick with the bandana look, use designs like these:

.........and these....

.......until you end up with these:

Aren't these the cutest?! You could use any color for the base, think about how cute a blue or yellow would be!
If you don't want the bandana look, put more (or bigger) paisleys on your cookie, and fill the open spots with polka dots and circles.
I hope you have enjoyed my first tutorial, I love sharing the process!


I know there are lots of icing tutorials out there but I would love to see how you mix your icing and how you get the right consistency, I only decorate cookies for special occasions and I feel like my icing turns out either too runny or too stiff.
ReplyDeleteHi Kristy! I will definitely do a tutorial on mixing and preparing icing. I will try to have it up at the end of next week!
DeleteSo cute!!
ReplyDeleteWhat tips do you use to outline and flood, or do you flood with a candy bottle? Also, do you use a kopykake projector?
ReplyDeleteHi Holly,
ReplyDeleteI absolutely LOVE the neatness of your cookies! I would love to see a tutorial on how you flood your cookies & how you get the monograms to be so consistent & so neat! I'm amazed!! You are so talented!!